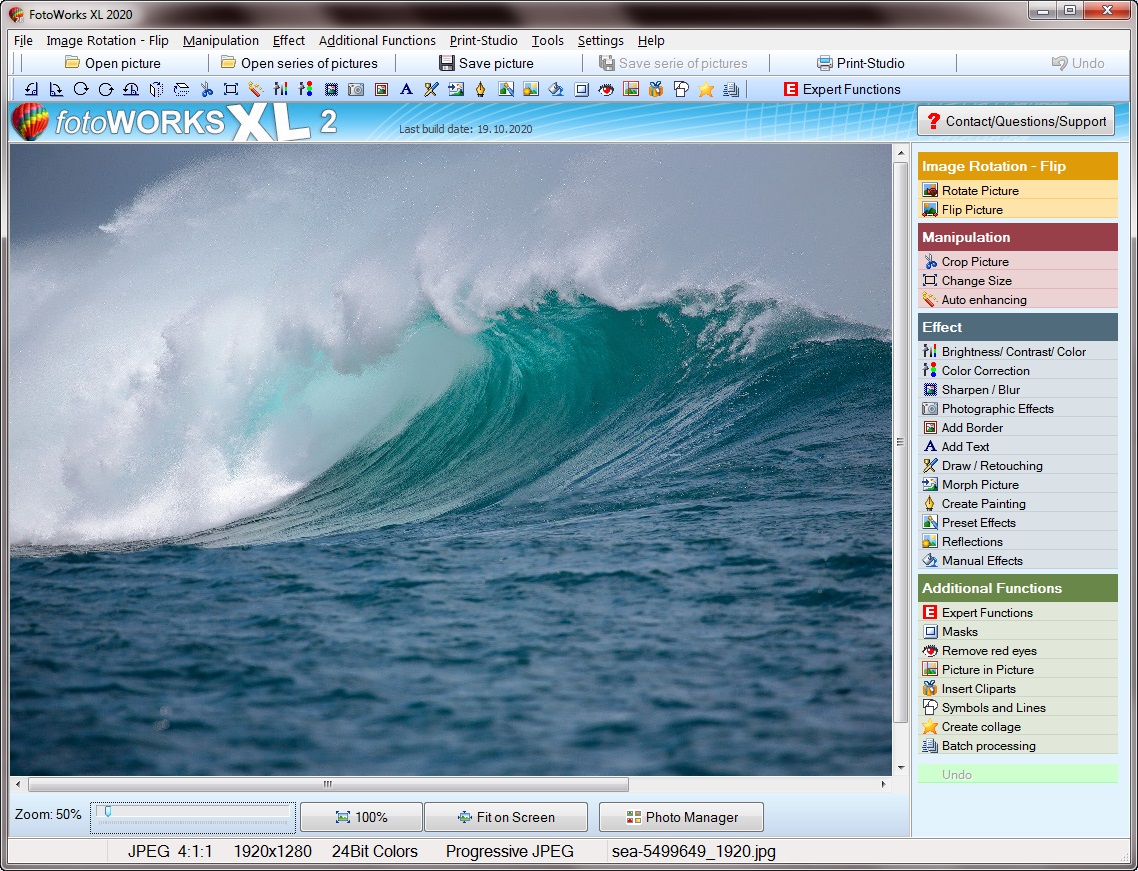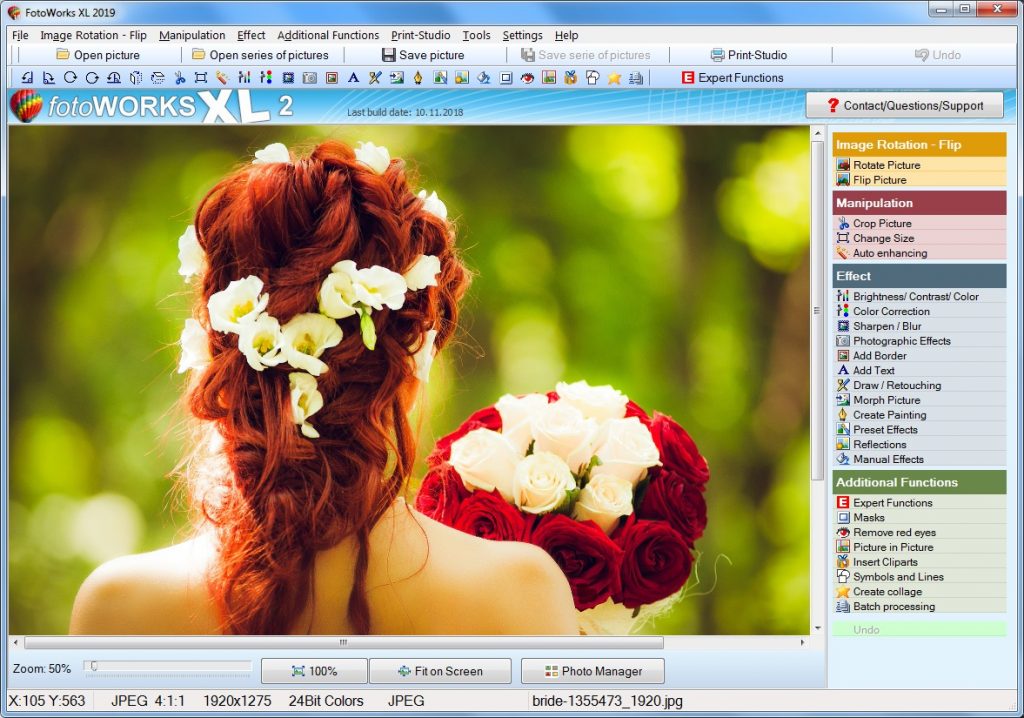

To create a morphing effect using photo editing software for PC, you first need to select the images you want to morph together. Then, use the morphing tool to blend the two images seamlessly, adjusting the intensity and speed of the effect to your liking. Finally, preview and save your morphed image in the desired format.
Main statements compact
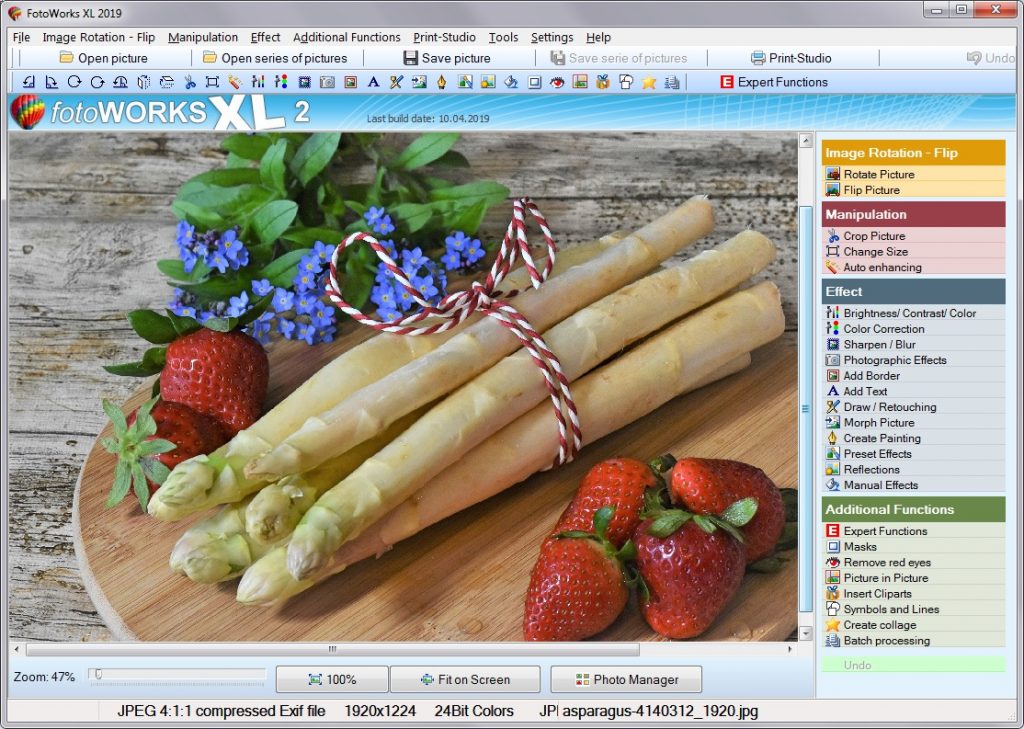
- PC photo editing software
- Creating morphing effects
- Pro tips for automatic image correction
- Ultimate guide for gaining expertise in photo editing software.
To achieve the morphing effect using photo editing software for PC, users must first select the images they wish to merge. These images should have similar dimensions and color schemes to secure a smooth transition between them. Once the images are imported into the software, users may begin the morphing process by aligning key points on each image that will serve as reference points for the blending.
After aligning the key points, users may then adjust the morphing settings to control the speed and intensity of the transition between the images. This step is fundamental in creating a seamless and realistic morphing effect that appears natural to the viewer. Users may also experiment with various blending modes and filters to boost the overall appearance of the morphed image.
Once the morphing effect has been applied, users may further customize their composition by adding text, graphics, or additional elements to augment the overall aesthetic. Photo editing software for PC offers a wide range of tools and features to help users unbridle their creativity and boost their images to new levels.
In addition to the morphing effect, photo editing software for PC also offers a plethora of other editing options such as color correction, retouching, and special effects. These tools allow users to enrich their photographs in a variety of ways and create stunning visual compositions that stand out from the rest.
Procedure for Photo Editing Software for PC Morphing Effect
Steps:
- Open the photo editing software on your PC.
- Import the two images you want to morph together.
- Select the morphing tool or feature in the software.
- Align the two images properly by adjusting their positions and sizes.
- Set keyframes or markers at specific points in the timeline for the morphing effect.
- Adjust the morphing parameters such as speed, intensity, and smoothness.
- Preview the morphing effect to see how it looks.
- Make any necessary adjustments to improve the effect.
- Save the morphed image as a new file on your PC.
- Export the final image in the desired format (e.g. JPEG, PNG).
Pro Tips for PC Photo Editing – Automatic Image Correction
When using photo editing software, take advantage of automatic image correction tools to boost the quality of your photos. These tools help adjust brightness, contrast, color balance, and sharpness with just a few clicks, saving you time and effort. Remember to always preview the changes before saving to assure the desired result.
One of the most important tips for using photo editing software is to familiarize yourself with the basic tools and functions. Grasp how to adjust brightness, contrast, saturation, and sharpness makes a significant difference in the quality of your photos. Additionally, learning instructions for using layers and masks gives you more control over your edits and helps create more professional-looking images.
Another helpful tip is to experiment with different filters and effects. Many photo editing software programs come with a variety of preset filters that instantly augment your photos. However, don’t be afraid to play around with the settings and create your own unique effects. This helps you develop your own personal style and make your photos stand out from the crowd.
In addition to manual editing, many photo editing software programs also offer automatic image correction features. These tools quickly adjust color balance, exposure, and other settings to improve the overall look of your photos. Even though these automatic corrections provide a helpful starting point, it’s important to bear in mind that they are not always perfect. Be sure to fine-tune the settings to guarantee your photos look their best.
When using automatic image correction tools, it’s important to pay attention to the details. During these tools improve the overall look of your photos quickly, they sometimes make subtle changes that affect the overall quality of the image. Be sure to review your edits carefully and make any necessary adjustments to confirm your photos look natural and true to life.
It’s also important to keep in mind that photo editing software is just a tool – the real magic happens behind the lens. Taking high-quality photos from the start makes the editing process much easier and more effective. Pay attention to lighting, composition, and framing when shooting your photos to make certain they look their best before you even start editing.

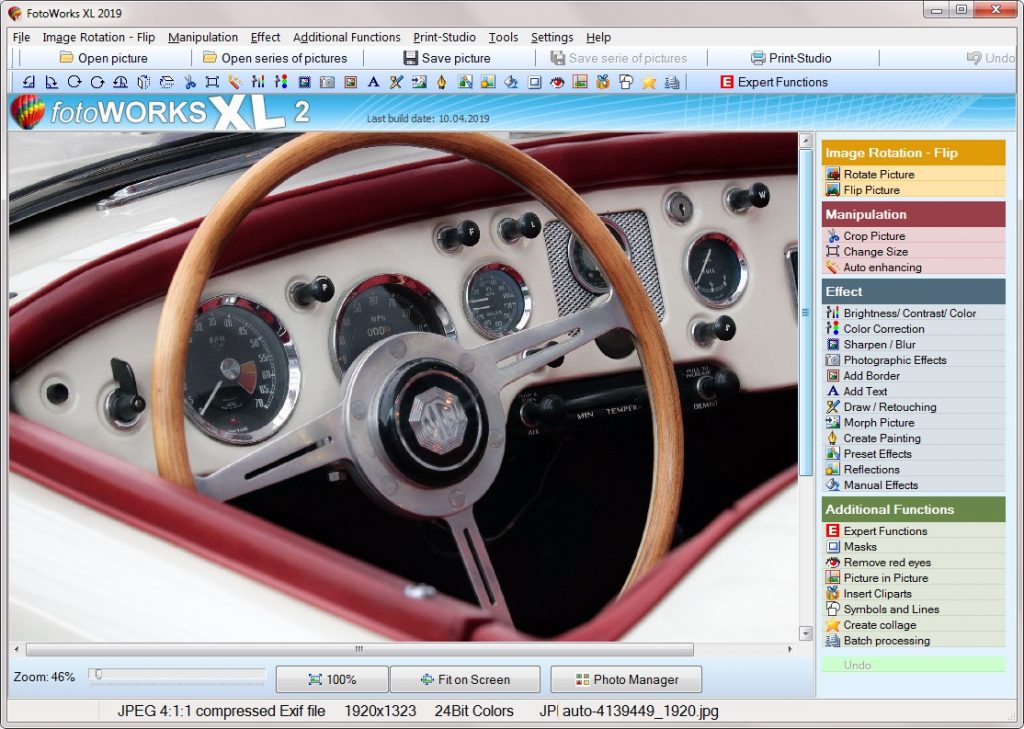
Ultimate Guide for PC Photo Editing: Gaining expertise in Photo Editing Software
When editing photos on your PC, start by importing your images into the photo editing software. Use tools like cropping, resizing, and adjusting brightness/contrast to improve the overall look of your photos. Experiment with filters, effects, and layers to add creative flair to your images. Don’t forget to save your work regularly and in different formats to preserve your edits.
With respect to choosing the right photo editing software for your needs, there are a few key factors to consider. The first thing to think about is the level of expertise you have in editing photos. Some software programs are more user-friendly and intuitive, making them ideal for beginners, whereas others offer advanced features that are better suited for experienced users.
One of the most popular photo editing software options for PC users is Adobe Photoshop. This powerful program offers a wide range of tools and features that allow you to manipulate and enrich your photos in countless ways. From adjusting the exposure and color balance to removing unwanted elements from your images, Photoshop is a versatile tool that helps you achieve professional-looking results.
Another top choice for PC users is CorelDRAW Graphics Suite, which offers a all-encompassing set of tools for creating and editing photos, illustrations, and designs. With features like photo editing, graphic design, and layout tools, CorelDRAW is a great option for users who need a multi-purpose program that handles a variety of tasks.
For those looking for a more budget-friendly option, GIMP is a free and open-source photo editing software that offers many of the same features as paid programs like Photoshop. Meanwhile GIMP may not have all the bells and whistles of its more expensive counterparts, it is a powerful tool that helps you achieve professional-looking results without breaking the bank.
In addition to these popular options, there are many other photo editing software programs available for PC users, each with its own set of features and capabilities. Whether you’re looking for a simple program for basic photo editing tasks or a more advanced tool for professional-level work, there is a software program out there that meets your needs.
Photo editing software for PC is necessary for amplifying your images and creating stunning visuals. Whether you’re a professional photographer or just looking to improve your social media posts, having the right tools makes a world of difference. Below is a overview of some popular photo editing software options for PC.
| Software | Price | Features | Compatibility |
|---|---|---|---|
| Adobe Photoshop | Subscription-based | Advanced editing tools, layers, masks | Windows, Mac |
| GIMP | Free | Open-source, customizable interface | Windows, Mac, Linux |
| Corel PaintShop Pro | One-time purchase | AI-powered editing, photo management | Windows |
| Skylum Luminar | Subscription-based | AI editing tools, presets | Windows, Mac |
| CyberLink PhotoDirector | Subscription-based | 360-degree photo editing, layer editing | Windows |